
SUMMARY
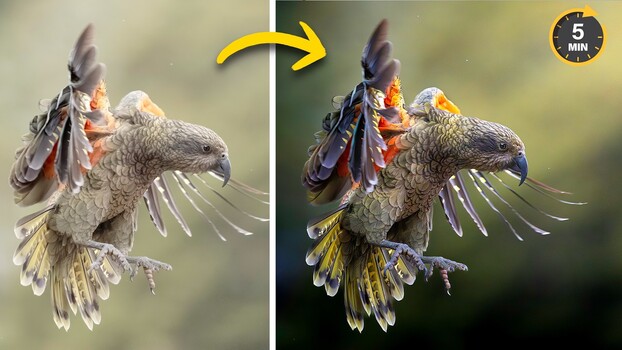
Matt Shannon demonstrates a workflow for making subjects stand out in photos using Lightroom and Photoshop. The process begins in Lightroom by darkening the background with linear gradients and adjustment layers, utilizing Lightroom's subject subtraction feature to isolate the background. Manual shadow brushing prevents halo effects, and a radial gradient adds warmth and lift to simulate a light source. In Photoshop, a synthetic lens flare is created and blended to enhance the light source, with adjustments made to color balance and a layer mask to protect the subject. The techniques focus on subtle, stacked edits that create a three-dimensional, well-lit subject.
TAKEAWAYS
Use Lightroom's linear gradients and subject subtraction to darken backgrounds.
Manually add shadows around edges to avoid halo effects and maintain natural transitions.
Simulate a light source with radial gradients and adjust color balance for depth.
Create synthetic lens flares in Photoshop and blend them subtly to enhance lighting.